Quick-Start
|
|
|
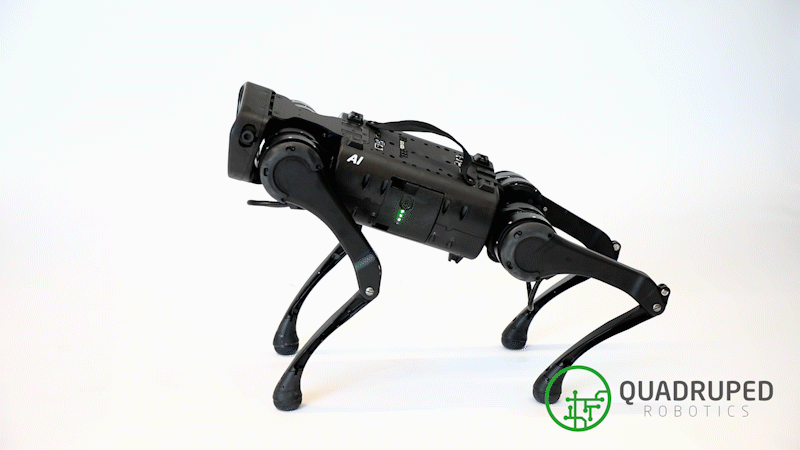
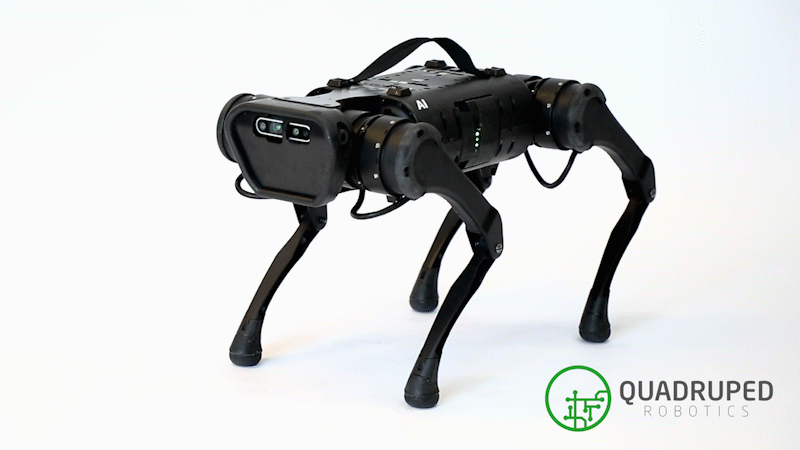
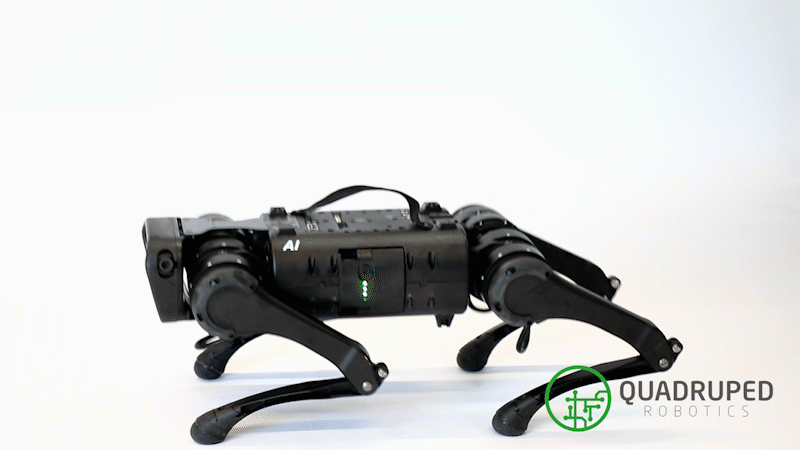
Quadruped Robotics Europe is a young, but fast growing startup in the field of legged robotics. In this documentation, the software overview of A1 robot is shown. The software is currently under heavy development. At the moment simples ros drivers are available for the robot along with simulation are available in Gazebo.
Quick-Start Teleop
A pre-configured A1 can start its navigation via the following commands:
Attention
Note that the current navigation utilizes unitrees innate controller and it does not currently perform terrain adaptibility. For that low-level-mode is required which is under development.
Launch High-level driver
sudo su
source catkin_ws/devel/setup.bash
roslaunch qre_ros high_level_mode.launch
Launch teleop
rosrun teleop_twist_keyboard teleop_twist_keyboard.py
Robot Setup
To start-up the robot the instructional video in the overview should be used which details the opening and use of the A1 manual as well as operation.
Network- Setup
The A1 has multiple networks and vary slightly, the following table shows the networks
Device |
Network Address |
Password |
|---|---|---|
A1-pi |
192.168.123.12 |
123 |
A1-nvidia |
192.168.123.161 |
123 |
A1-MCU |
192.168.123.10 |
N/A |
Ouster |
192.168.123.51 |
N/A |
Hotspot
Note
A1 has its own native hot-spot to which users can connect as well as an Ethernet port to access its on-board computers.
Moreover, A1 has the network address range of 192.168.123.*.
The SSID of the Wifi network of A1’s hot-spot begins with UnitreeRoboticsA1-000,
where the 000 represent the A1’s model number and the default password is 00000000 or 8 zeros.
Once connected to the WiFi network, one can access A1’s Nvidia ip address 192.168.131.161
as well as the Raspberry Pi’s ip address 192.168.123.12. To achieve this enter the command
terminal of the computer that has connected to the WiFi hot-spot of the robot and enter the following:
To connect with the Nvidia’s on-board PC:
ssh -X unitree@192.168.123.161
123
To connect with the Raspberry Pi’s on-board PC:
ssh -X unitree@192.168.123.12
123
Mobile-App
Install the unitree app: A1 Android App, A1 iOS App
Connect to the A1’s hotspot and select the vision system to see the A1’s camera stream
Direct Power-Supply
Remove the battery from the A1.
Ensure the A1 is placed on the ground with all four paws as well as knee joints touching the ground.
It is advised to place robot on some carpet or similar compressible surface to prevent damage to the joints.
Connect the cable to the connection ports on the A1’s back.
The A1 requires 24V with around 3A of current. At startup it may take up to 20A of current.
Be vigiliant and make sure the XT30 male pins are in the correct orientation when plugging in.
Warning
The procedure described below is only for development purposes. It turns on the robot without battery inside from external power supply. The power supply should atleast be able to provide 24V/3A.
Calibration
Robot Drift
On the robot and press start
While the robot is trotting press the left or right arrow keys opposite of the A1 drift on the controller keypad
Continue pressing the keys until drift stops and press b to save (this has to be done before the robot trotting stops)
IMU Calibration
Power on the robot until it stands.
Press
L2 + Bto make the robot lie down.Press
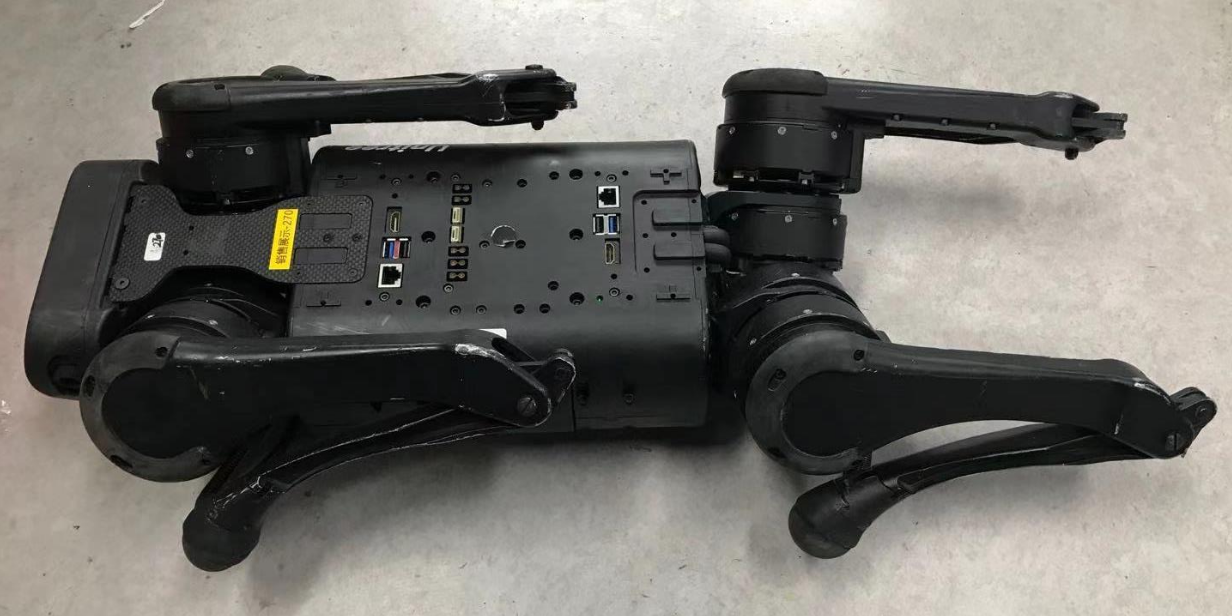
L2 + Btwice to enter zero-force mode (motors can move freely).Position the legs so that all four are off the ground (As shown in the picture below), with thighs parallel to the ground.
Press
L1 + B, wait for 3 minutes, then power off the robot.Return the legs to the usual startup position, power on the robot, and check the result.
Leg Calibration
Follow the instructions below to calibrate the legs of Robot A1 properly. This procedure ensures that the robot’s leg joints are correctly aligned for optimal performance.
Note
Make sure to follow the steps carefully, and maintain a safe distance from the robot during calibration to avoid injury.
Step-by-Step Calibration
Power on the Robot:
Ensure that all four legs are touching the ground in their neutral position.
Power on the robot by pressing the battery power button with one short press followed by one long press.
Wait for Boot Up:
Once the robot’s boot-up process is complete, it will automatically stand up.
Power on the Joystick:
Power on the joystick by pressing the power button with one short press followed by one long press.
Begin Calibration:
Follow the button sequence below to perform the calibration process.
Press L2 + A (x2).
Press L2 + B (x1) – The robot will sit down.
Press L2 + R2 (x1) – Ensure that the motors are now free of tension, and the legs can be moved freely by hand.
Adjust Knee Joints:
Manually bring the knee joints of both legs together, aligning them at the center of the robot’s body.
Ensure all four points (both knee joints and feet) are properly aligned, with the connection centered.
Prepare for Leg Extension:
Maintain a safe distance, as the robot’s legs will move outward in the next step.
Press L2 + R2 (x1) – The robot’s legs will widen.
At this stage, the hip joints will be locked, allowing movement only in the front-back direction, not side-to-side.
Align the Legs Using the Calibration Tool:
Use the calibration tool to align each leg of the robot, slowly guiding them down to the ground.
Finalize Leg Position:
After aligning all four legs, complete the process by following these button presses:
Press L2 + L1 (x2).
Press L2 + R1 (x2).
Press L1 + R1 + R2 together (x1).
Verify the Calibration:
Once these steps are completed, you should notice a reduction in motor noise, and the leg joints should move freely. This indicates that the calibration is successful.
Reboot the Robot:
Power cycle the robot by turning it off and on again to finalize the calibration.
Video Guide
For a detailed visual guide, refer to the leg calibration video guide.
Remote Calibration
Hold the remote control but do not touch the joystick.
Press the remote control buttons F1 and F3 and release them at the same time.
At this time, the remote control will emit a continuous drip ~ drip ~ sound (1 time / second) to
indicate that it has entered the calibration mode.
After entering the calibration mode, move the left and right joysticks to full rudder and rotate it several times until the
drip ~ drip ~sound stops, and the calibration is ready.Press F3 once to make the calibration take effect and complete the calibration.
Note
Please do not touch the joystick before calibrating, only enter the calibration mode to move the joystick. After calibration, you can view the status of the joystick after calibration through APP. (reference Page: 33 of the user manual)
Troubleshooting Guide
You can access the full troubleshooting guide here.
To proceed with the troubleshooting steps, first download document(EXE) #1
Then, download document(EXE) #2
Follow the instructions within the guide and the linked documents for resolving issues with your QUADRUPED A1.
Robot Falling Over
Replace the robots foot paws.